- How should you position UniFi cameras for context and identification?
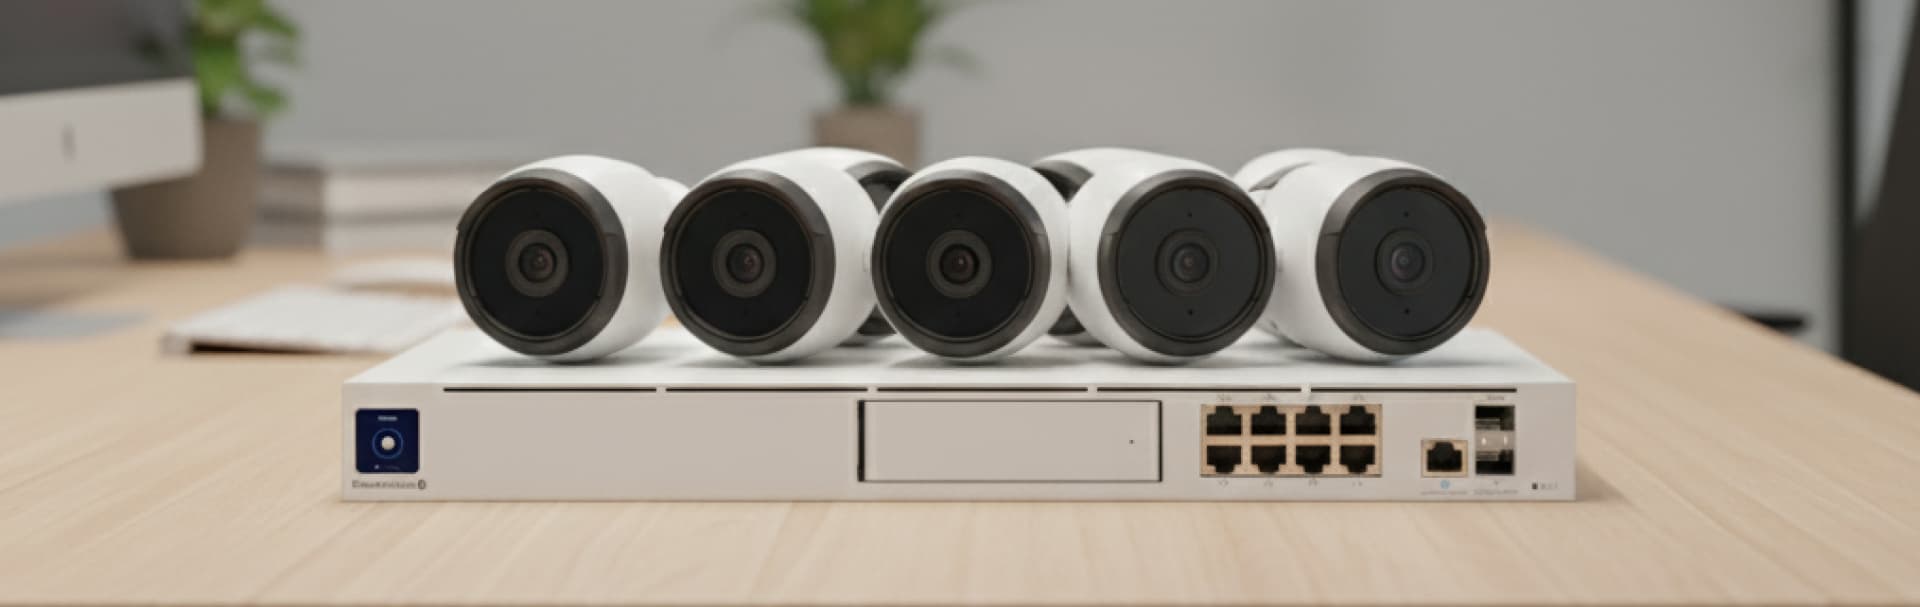
- Which UniFi camera models fit context views, ID views, and license plate capture?
- Which mount height, lens choice, and camera body work best?
- How do you improve night clarity without flooding the scene?
- How should you size UniFi Protect recording and retention in 2026?
- How should you configure smart detections, line crossing, and alerts?
- What network and PoE checks matter before you add cameras or an NVR?
- How should privacy, access, and exports be handed off?
- FAQ: quick answers
- References
Deploy UniFi Protect in two layers: wide cameras explain what happened, and tighter cameras at doors, gates, and driveway choke points capture usable faces or plates. In 2026, the difference between helpful footage and expensive clutter is not camera count alone. It is scene design, model choice, mount height, lighting, retention math, and alert tuning.
- Use wide context views for movement and sequence, then add dedicated ID views where people or vehicles naturally slow down.
- Treat G5 Pro as a stronger identification camera, but call out AI DSLR, AI LPR, or AI Port when license plate recognition is an actual requirement.
- Size UNVR storage with bitrate math and recording mix, not with vague camera-count guesses.
- Use Smart Detections and Line Crossing on choke points first; broad motion zones should be the exception, not the default.
- Security cameras and access control checklist
- UniFi Protect retention sizing
- Lighting strategies for UniFi cameras
- How to design a security camera system for a Westchester home
How should you position UniFi cameras for context and identification?
Deploy wide context cameras for movement and sequence, then place tighter ID cameras at the doors, gates, and lanes where the subject slows down.
The most reliable UniFi layouts use at least two layers of coverage. The first layer is the context view: driveway approach, yard movement, lobby circulation, parking-lot path, or porch overview. The second layer is the identification view: front door, side gate, garage apron, package drop zone, office entry, or visitor lane. That second view is where the footage becomes actionable because the lens, angle, and distance are designed for a face or plate instead of a general scene.
Use the context view to answer direction, timing, and sequence. Use the identification view to answer who arrived, which vehicle stopped, and what happened at the decision point. A single wide 4K shot rarely does both jobs well because the pixels are spread across too much scene width.
- Put the context camera where it can explain approach path, direction, and sequence.
- Put the ID camera where a visitor, delivery driver, or vehicle naturally slows down.
- Avoid relying on post-event digital zoom to create detail that was never captured.
- Design every primary entry with at least one dedicated identification shot.
Which UniFi camera models fit context views, ID views, and license plate capture?
Choose UniFi camera models by job, not by brand uniformity. A system becomes clearer when each camera has one primary role.
Standard G5-series cameras are still good fits for wide context views, general coverage, and lower-cost exterior or interior overviews. G5 Pro is the stronger choice when you need a tighter identification view because it combines 4K resolution, 3x optical zoom, long-range IR, and AI event detections in one camera. That said, the article should not imply that every G5 camera is a dependable license plate reader. If plate recognition is a real requirement, say so directly and specify the hardware for it.
For 2026, the cleaner language is this: use G5 Pro for tighter identification work, and use AI DSLR or AI LPR when dedicated license plate recognition is the design goal. If an existing site already has compatible G5, G4, or G3 cameras, AI Port is the upgrade path for advanced face and license plate recognition workflows. That is more precise than saying UniFi can capture plates with the right angle and leaving the reader to infer that any wide G5 shot will do.
| Camera role | Best current fit | Why it fits | Important caution |
|---|---|---|---|
| Wide context view | Standard G5-series cameras | Good for approach paths, yards, hallways, and overview scenes | Treat these as context-first cameras, not long-range ID cameras |
| Tighter identification view | G5 Pro | 4K, 3x optical zoom, long-range IR, and AI event detections help tighten framing without digital crops | A better ID camera is not the same thing as dedicated license plate recognition |
| Dedicated LPR or high-value vehicle lane | AI DSLR or AI LPR | These are the correct callouts when plate capture is an actual requirement | Scene angle, lane control, and night tuning still matter |
| Upgrade path for existing compatible cameras | AI Port with supported G5, G4, or G3 cameras | Adds face and license plate recognition workflows without replacing every camera | Compatibility and scene tuning still need to be checked per camera |
If a customer says they need usable faces, start with mount height and choke-point placement. If they say they need plate recognition, say AI DSLR, AI LPR, or AI Port explicitly instead of leaving it implied.
Which mount height, lens choice, and camera body work best?
Use face-level or slightly elevated ID views, not steep soffit shots, and match the camera body to the scene instead of standardizing on one model everywhere.
For doors, vestibules, and intercom positions, aim for roughly face-level framing. In many installs that means about 5 to 6 feet for the camera centerline or slightly higher if tamper resistance matters. For driveway or side-gate identification views, roughly 7 to 9 feet is often the better tradeoff because it keeps the camera safer while still preserving facial structure and better vehicle detail. Once you go too high, the footage becomes a top-of-head record instead of an identification view.
Lens and body choice matter just as much as megapixels. Turret and dome styles usually behave better under covered entries because they reduce the self-inflicted IR problems that show up when the camera is close to bright walls, soffits, or trim. Bullet styles are easier to justify on long, narrow views such as driveways or gates because they are easier to point precisely and often pair better with tighter framing. Mechanical aim beats digital cropping every time because it keeps the available pixels concentrated on the target.
- Front door and vestibule ID views usually perform best around 5 to 6 feet.
- Side gate, garage apron, and exterior ID views usually start around 7 to 9 feet.
- Wide soffit or roofline mounts are usually context cameras unless the lane is tightly controlled.
- Favor physical mounts and optical zoom over digital crops when you need more detail.
How do you improve night clarity without flooding the scene?
Night clarity depends on light placement, exposure discipline, and reflective control more than on the camera spec sheet alone.
The cleanest night scenes come from soft, steady light near the subject, not from a huge motion flood mounted forty feet away. A warm porch fixture, low-glare soffit light, or controlled driveway lighting often improves identification more than changing the camera model. The goal is to keep faces, clothing, and vehicle surfaces inside a usable exposure range without blowing out the foreground or forcing the camera into a noisy gain-heavy image.
Infrared still matters, but it has predictable failure modes. White siding, glass, polished trim, nearby walls, and wet pavement can all bounce IR back into the lens. That is one reason turret and dome styles often win near covered entries. For driveway and vehicle scenes, headlights are the bigger problem. If the subject will move fast or the plate matters, tune the scene for the lane and keep the camera angle controlled. A plate camera pointed at an uncontrolled roadway is usually an unrealistic promise.
- Prefer low, even entry lighting over harsh motion floods.
- Keep bright walls, glass, and reflective trim out of the primary IR path.
- Re-check every ID camera after dark with both a walk test and a vehicle test.
- Use the night profile to protect shutter speed before chasing brightness with gain.
How should you size UniFi Protect recording and retention in 2026?
Size retention with recorder limits and bitrate math, then mix continuous recording on ID views with detection-only recording on broad context views.
The vague version of retention planning is “buy a UNVR sized for camera count.” The useful version is to decide how many days you need, which cameras must record continuously, and what average bitrate you are willing to budget per scene. Ubiquiti’s current published camera limits are the right starting point for recorder selection, but they do not remove the need for storage math because a quiet interior camera and a busy night driveway camera do not consume storage the same way.
| Recorder | Published camera limit | Best fit |
|---|---|---|
| UNVR | Up to 60 HD / 30 2K / 18 4K cameras | Most homes, estates, and small offices |
| UNVR Pro | Up to 70 HD / 35 2K / 24 4K cameras | Larger homes, heavier retention targets, or denser small-business installs |
As transparent planning math, 1 Mbps of continuous average bitrate is about 10.8 GB per day. That means a site with four continuous 4K identification cameras can consume meaningful storage very quickly. Instead of pretending there is one universal number for every G5 Pro install, show the reader a worked range and explain the assumption behind it.
| Average bitrate per camera | Total average bitrate | Approx 30-day storage | Planning note |
|---|---|---|---|
| 6 Mbps | 24 Mbps | About 7.8 TB | Reasonable starting estimate for cleaner scenes |
| 8 Mbps | 32 Mbps | About 10.4 TB | Conservative exterior planning when night scenes are busy or reflective |
The practical recording mix is usually simple. Keep continuous recording on the cameras that protect your primary entry, visitor path, gate, or lane-level ID view. Push wide context views toward Detection Only once the scene is tuned and quiet. Document retention per camera group in the handoff so the client knows what ages off first.
- Keep at least one continuous ID camera at each critical entry.
- Use Detection Only on broad overview scenes after the scene is stable.
- Write retention targets by camera group, not as a single site-wide guess.
- Protect the recorder and switch stack with a UPS so short outages do not corrupt footage.
How should you configure smart detections, line crossing, and alerts?
Use person, vehicle, and line-crossing rules on choke points first; broad motion zones should be the fallback, not the default.
The quietest alert setup starts with scene design. Put detections on the cameras that actually matter, then keep the coverage cameras quiet. In UniFi Protect, Line Crossing is especially useful on driveways, gates, loading lanes, and hallway thresholds because it lets you notify on inbound or outbound crossings instead of every branch movement or shifting shadow inside a large motion area. That is usually the difference between a manageable alert stream and a system everyone learns to ignore.
The right order is to enable person detection on your main door and gate views, vehicle detection on the driveway or parking-lot entry if that scene matters, and then add Line Crossing rules where direction matters. General motion still has a place, but it should be tightly contained and treated as a support rule once the smart-detection workflow is doing most of the work.
- Enable person detection on door, gate, lobby, or vestibule ID views first.
- Add vehicle detection only where a driveway, lane, or lot entry is operationally relevant.
- Use Line Crossing for inbound or outbound movement at gates, driveways, or hallway thresholds.
- Apply schedules so business-hours alerts and after-hours alerts go to the right people.
- Review the alert log after one week and remove noisy rules before adding new ones.
What network and PoE checks matter before you add cameras or an NVR?
Stable cameras depend on clean power, labeled switching, secure remote access, and enough headroom for the recorder you plan to add later.
Camera projects fail quietly when the switch budget is already tight, the recorder is not on battery backup, or support depends on public port forwarding. Before you add more cameras or move from a simple gateway to a UNVR, check the total PoE draw, uplink speed, rack airflow, UPS coverage, and where the recorder will live physically. Leave margin instead of running the switch at the edge of its power budget every day.
For remote access, use the UniFi remote workflow for routine viewing and keep recorder management behind a safer private path when administrative access is needed. Do not treat raw inbound port forwarding as normal camera hygiene in 2026.
- Leave roughly 20 to 30 percent PoE headroom for growth and cold-start spikes.
- Label switch port, VLAN, and recorder uplink for every camera group.
- Put the UNVR and core PoE switch on UPS power.
- Keep recorder and camera admin ports off the public internet.
We can review PoE budget, recorder placement, UPS coverage, and network readiness before you buy hardware that does not fit the site.
How should privacy, access, and exports be handed off?
Good footage still fails operationally when nobody knows who can view it, how long it stays, or how to export the right clip under pressure.
Keep admin access separate from day-to-day viewing. Match camera names to doors, gates, or intercom positions so an event can be found quickly. If the site includes doorbells or access control, make the naming consistent across systems so support staff are not translating between three different labels for the same entrance. The export procedure should be short enough that someone can follow it without improvising in the middle of an incident.
- Name every camera by location and job, such as Front Door - ID or Driveway - Context.
- Verify day and night framing for every ID view after installation.
- Record retention target, recording mode, and alert logic for each camera group.
- Document who has admin access, who has viewing access, and how access is revoked.
- Save a one-page export SOP with naming rules, timestamps, and clip destination.
FAQ: quick answers
Can UniFi Protect capture license plates?
Yes, but write this precisely. For dependable LPR, call out AI DSLR, AI LPR, or AI Port on supported G5, G4, or G3 cameras. Do not imply that a plain wide G5 overview will behave like a dedicated plate camera.
Is G5 Pro good for identification?
Yes. G5 Pro is a much better identification camera than a generic wide overview because it adds 4K resolution, 3x optical zoom, long-range IR, and AI event detections. It still needs proper mount height, angle, and lighting.
Should every camera record continuously?
No. Keep continuous recording on the key identification views, then move broader context scenes to Detection Only when the scene is stable enough that smart detections are trustworthy.
What causes most false alerts?
Wide motion zones, uncontrolled foliage, reflective surfaces, roads in frame, and trying to make overview cameras do too much. Line Crossing and tighter smart-detection design usually fix more noise than simply lowering sensitivity.
References
- Ubiquiti Store: Camera G5 Pro. Checked March 9, 2026.
- Ubiquiti Store: Camera AI DSLR. Checked March 9, 2026.
- Ubiquiti Store: AI Port. Checked March 9, 2026.
- Ubiquiti Help Center: Camera Limits on UniFi Cloud Gateways and Recorders. Checked March 9, 2026.
- Ubiquiti Help Center: UniFi Protect AI Detection Types. Checked March 9, 2026.
- Ubiquiti Help Center: Use the Alarm Manager. Checked March 9, 2026.
Plan the project with a site visit
Confirm wiring, equipment, placement, and installation scope before hardware is locked in.