- Quick answer
- Designing Camera Systems for Coverage vs. Identification
- Best Placement Locations for Exterior Security Cameras
- Heights, Angles, and Lenses for Exterior Cameras
- How High Should Exterior Security Cameras Be Mounted?
- How Do You Avoid Soffit Mount Problems, IR Bounce, and Spiderwebs?
- How Do You Improve Night Clarity Without Flooding the Scene?
- How Do You Reduce False Alerts in 2026?
- Which Camera Bodies and Hardware Choices Make Sense in 2026?
- Recommended Camera Picks by Job
- How Much Should You Budget for Camera Placement?
- Can One Camera Do Both Coverage and Identification?
- Do You Need a Dedicated License Plate Camera?
- Privacy and Neighbor Awareness
- FAQ
- Placement Checklist
- Next Steps
- References
Good exterior camera placement uses two layers. One layer explains what happened across the property. The other captures usable faces, packages, or plates where people and vehicles naturally slow down.
That is the difference between footage that tells a story and footage that actually helps you identify someone. In 2026, better cameras and smarter detections help, but placement, mount height, lens choice, and night lighting still decide whether the footage is useful.
Quick answer
Exterior security cameras work best when you split them into coverage views and identification views, mount most ID cameras around 7 to 9 feet high, and keep night lighting soft, warm, and out of the lens.
- Use wide coverage cameras for approaches, yards, and sequence. Use tighter ID cameras at doors, gates, and garage aprons.
- Mount most exterior identification cameras about 7 to 9 feet high. Mount plate-focused views lower, usually around 6 to 8 feet, where vehicles pause.
- Treat 2.8 mm as a wide overview lens and 4 mm to 6 mm as progressively tighter framing for better detail.
- Basic motion alone is rarely the best starting point in 2026. Use person, vehicle, line-crossing, and intrusion rules where the platform supports them.
- Avoid white soffits, glossy trim, spiderweb-prone corners, and lights aimed into the lens if you want cleaner night footage.
- Smart security cameras: buyer's guide
- Security & Surveillance: packages that hold up
- Security cameras + access checklist
- How to design a security camera system for a Westchester home
Designing Camera Systems for Coverage vs. Identification
Coverage cameras capture wide scenes to show activity, while identification cameras use tighter angles at choke points to capture faces, clothing details, and sometimes plates.
Coverage views tell the broader story. They show driveway approaches, front yards, side paths, back gates, and how movement unfolded across the property. Identification views answer the more important follow-up question: who was at the door, who came through the gate, and which vehicle stopped where.
The mistake most homeowners make is asking one camera to do both jobs. A single wide view can document motion, but it spreads pixels across too much scene width to deliver dependable detail. In 2026, dual-lens panoramic cameras are a strong option for wide coverage, but they still do not eliminate the need for a dedicated identification angle nearby.
- Coverage cameras answer what, when, and where.
- Identification cameras answer who and which vehicle.
- Label every camera by job in the NVR so exports are fast under pressure.
- Design at least one clear ID view at every primary entry.
Best Placement Locations for Exterior Security Cameras
The best exterior camera locations are front doors, driveways, garage aprons, side gates, rear doors, and any place where a person or vehicle naturally slows down.
Start with those decision points before you add broad corner coverage. A front-yard overview is helpful, but the tighter shot at the porch, gate latch, package area, or driveway pause point is what usually becomes actionable.
- Front door (ID): 7 to 9 feet high, aimed close to eye level, slightly off-axis so the door swing and porch light do not wash out faces.
- Driveway overview (coverage): upper corner or eave, aimed across the approach so you capture arrival path and direction.
- Garage apron (ID): 6 to 8 feet high, framed on the spot where vehicles pause before entering or reversing.
- Side gate or walkway (ID): 7 to 8 feet high, placed perpendicular to travel so faces move across the frame instead of toward it.
- Rear door or backyard access (ID + coverage): one overview for yard movement and one tighter view on the door, latch area, or path.
A single camera cannot capture both a wide scene and strong identification details. Pair a wide coverage view with a nearby identification view instead.
Heights, Angles, and Lenses for Exterior Cameras
Mount height, angle, and lens choice matter more than resolution alone because they decide how many usable pixels land on the subject where it counts.
| Scene | Mount height | Angle | Starting lens | What to watch for |
|---|---|---|---|---|
| Front door - face ID | 7 to 9 ft | Slight down-tilt | 2.8 mm to 4 mm | Keep the face near the upper third of frame and avoid direct porch-light flare |
| Driveway - coverage | 9 to 12 ft | Shallow | 2.8 mm or dual-lens panoramic | Show approach path, not just the parked car |
| Garage apron - plate or driver ID | 6 to 8 ft | Shallow | 4 mm to 6 mm | Frame the exact area where vehicles pause |
| Side gate - face ID | 7 to 8 ft | Perpendicular | 4 mm or tighter if needed | Cross-frame movement improves facial detail |
| Backyard - overview | 9 to 12 ft | Shallow | 2.8 mm to 4 mm | Keep glass, white trim, and floodlights out of the IR path |
We map field of view, mounting height, and night-lighting trouble spots before installation so the layout is clear before hardware goes up.
How High Should Exterior Security Cameras Be Mounted?
Exterior security cameras should usually be mounted 7 to 9 feet above grade with a gentle downward angle if the goal is clear facial identification.
That range is the best tradeoff for most homes. It keeps the camera high enough to discourage tampering while staying low enough to preserve facial structure. Once you move much higher than 9 feet, especially under steep soffits, the footage often turns into top-of-head shots that look fine in a sales brochure and disappoint in real incidents.
Plate-focused views usually need to be even lower and tighter. If you want readable plates or a clear driver-side view, mount closer to 6 to 8 feet and frame the exact area where vehicles stop, turn, or queue. Tight scene control matters more than buying a "better" camera and hoping digital zoom fixes the geometry later.
-
Use 7 to 9 feet for most exterior face ID views.
-
Use 6 to 8 feet for driveway apron or plate-adjacent views where cars slow down.
-
Use higher roofline or corner mounts mainly for context, not identification.
-
Re-check the framing after dark, not only in daylight.
How Do You Avoid Soffit Mount Problems, IR Bounce, and Spiderwebs?
Soffit mounts fail at night when infrared light reflects off nearby white surfaces or when insects and spiderwebs gather close to the lens and wash out the image.
This is one of the most common real-world problems in exterior camera installs. Under a bright soffit, trim board, or overhang, the camera's own IR can bounce back into the lens and create haze, bloom, or a foggy halo. Even if the daytime framing looks perfect, the night image can collapse once the IR turns on.
Spiderwebs make it worse. Infrared light attracts insects, insects attract spiders, and the web ends up inches from the lens. That creates motion noise, false alerts, and a glowing blur across the image. Covered corners and eaves are the most common trouble spots.
The fix is practical, not fancy: give the camera more separation from the ceiling or wall, use turret-style bodies near reflective surfaces, disable or reduce on-camera IR if a soft nearby light already does the job, and inspect the lens area after a few nights instead of assuming the install is finished on day one.
-
Avoid mounting IR cameras tight against white soffits, glossy siding, or trim.
-
Give the camera breathing room from nearby surfaces whenever possible.
-
Prefer turret or dome-style housings where walls and ceilings are close.
-
If warm entry lighting is already adequate, test whether reduced IR gives a cleaner result.
-
Clean webs and re-test after dark whenever alerts suddenly become noisy.
How Do You Improve Night Clarity Without Flooding the Scene?
Night clarity improves more from controlled, even light near the subject than from blasting the property with bright motion floods.
Soft entry lighting helps cameras hold detail in faces, clothing, and vehicle paint without forcing the sensor into a noisy, over-gained image. For most homes, warm 2700K to 3000K porch or sconce lighting is the best starting point because it is comfortable to live with, usually easier on glare, and less chaotic than cold, harsh floodlighting.
That does not mean every warm light automatically solves insects or plates. It means the scene is easier to control. Shield the fixture, aim it away from the lens, and light the place where the person or vehicle will pause. For driveways, a modest apron light near the stopping point usually helps more than a high flood mounted far away.
-
Use warm, shielded porch or soffit lighting on a schedule instead of blast-on motion floods.
-
Keep light sources out of the lens and out of reflective trim whenever possible.
-
Test the scene with a person walking and with a vehicle arriving after dark.
-
Treat headlights, wet pavement, and white garage doors as part of the night scene, not as afterthoughts.
How Do You Reduce False Alerts in 2026?
The best way to reduce false alerts in 2026 is to start with AI-based person and vehicle rules, then add line-crossing or intrusion logic at real choke points instead of relying on large generic motion zones.
Basic motion still exists, but for most exterior scenes it should be the fallback, not the strategy. Trees move, headlights sweep, rain reflects, insects drift through IR, and broad motion zones quickly teach homeowners to ignore notifications. Smarter detections are now the normal baseline on better prosumer and commercial platforms.
The practical setup is simple. Put person detection on the front door, gate, and package zone. Put vehicle detection on the driveway or lot entrance if cars matter. Add line-crossing or intrusion rules where direction matters, such as a gate threshold, side path, or driveway entry. Use loitering-style rules only where the platform supports them clearly and where the scene is controlled enough to avoid noise.
- Use person and vehicle detection first on the cameras that matter most.
- Keep zones tight around doors, gates, aprons, and threshold lines.
- Exclude roads, sidewalks, tree canopies, and known reflection paths.
- Review alert logs after one week and remove noisy rules before adding more.
- Keep broad overview cameras quieter than ID cameras whenever possible.
Which Camera Bodies and Hardware Choices Make Sense in 2026?
Turret or dome cameras are usually the best default for exterior identification work, bullets fit longer narrow views, doorbells are ideal at entries, and dual-lens panoramic cameras are useful for wide coverage but not as a replacement for every ID shot.
Turret and dome designs handle close walls, soffits, and overhangs better because they are less likely to throw IR back into the lens. Bullet cameras are easier to point precisely and still make sense for long driveways, gate lanes, and narrow side-yard runs. Doorbells remain the cleanest face-level solution at the front entry, especially when the homeowner wants clear visitor audio and direct interaction.
As for brands, the article should stay practical. UniFi Protect remains a strong fit when local recording, clean exports, and system consistency matter. Reolink remains a good fit for budget-conscious or hybrid installs, and its dual-lens panoramic cameras are useful for wide coverage in the right scenes. The placement rules in this guide apply to both.
-
Turret or dome: best general-purpose exterior body for ID views near walls or soffits.
-
Bullet: best for long, narrow, deliberate views where aim precision matters.
-
Doorbell: best for face-level front entry capture and visitor interaction.
-
Dual-lens panoramic: best for broad context over driveways, yards, or patios when paired with a nearby ID view.
Recommended Camera Picks by Job
These are role-based recommendations, not four interchangeable products. Each one lines up with a specific job from the placement guidance above, which is the only useful way to recommend camera hardware in an article like this.
- Front-door face ID: use a doorbell-style camera when the goal is head-to-toe visitor framing and clear close-range interaction.
- Wide driveway or front-yard coverage: use a dual-lens panoramic camera when the job is scene coverage, not a tight ID shot. For hardwired driveway installs, the Reolink floodlight camera comparison covers which model fits which exterior zone.
- Tighter soffit or side-gate ID: use a turret-style camera when you need a cleaner exterior body near walls, overhangs, or reflective trim.
- Low-light side-yard or apron detail: use a camera with stronger color night performance when you want usable detail without relying entirely on IR.
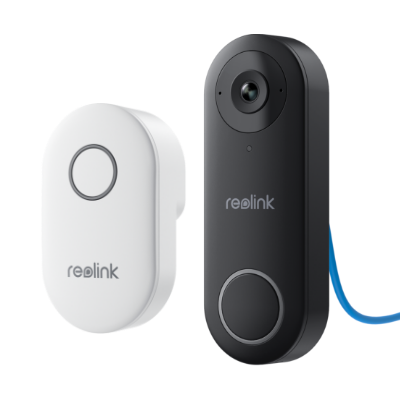
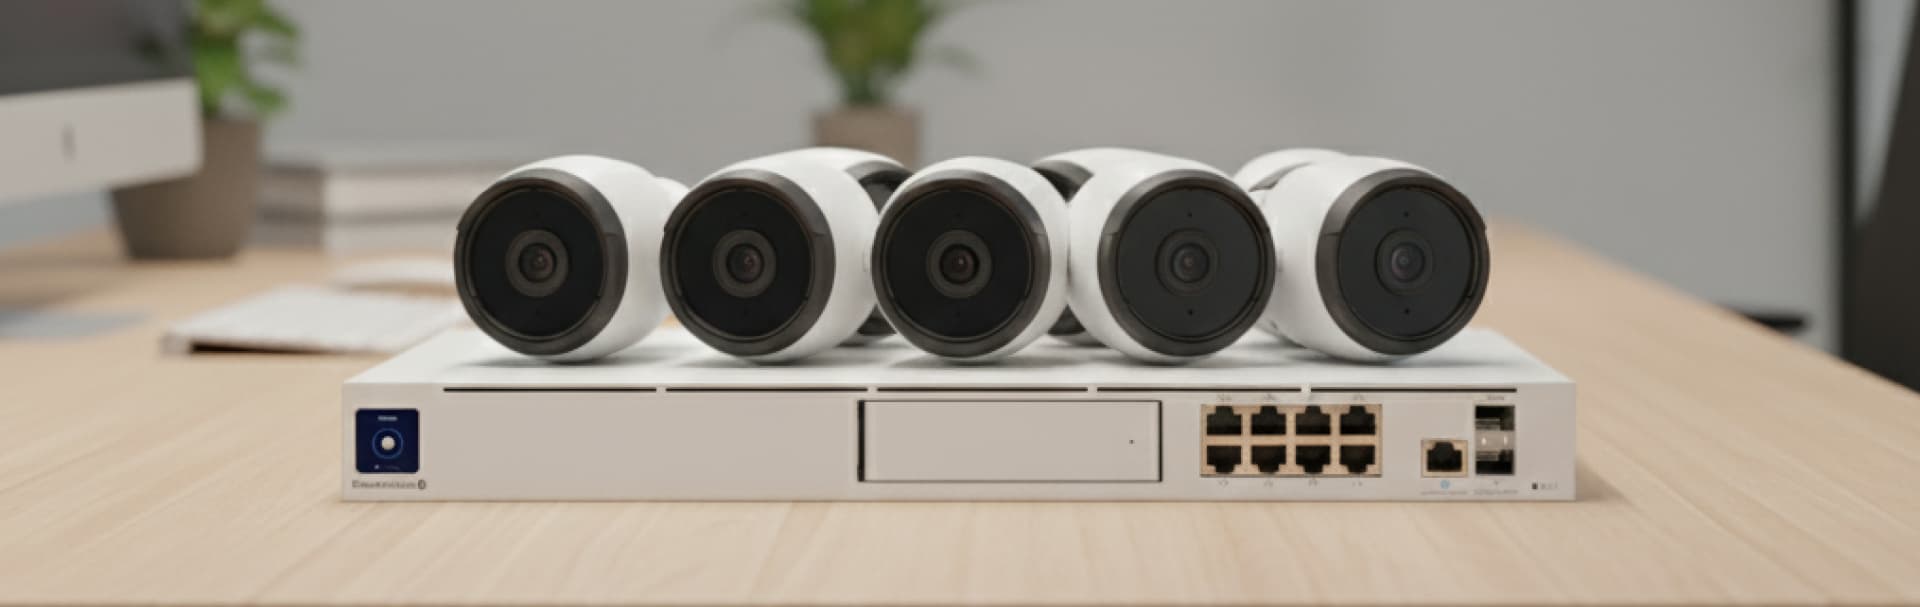
Best for Ethernet, NVR, and local-first front-door recording.
- Best fit for Reolink NVR, Home Assistant, or NAS-led local recording setups
- PoE keeps the front door on a stable wired path with no Wi-Fi dependency
- White versions add taller 3:4 framing and package detection; black versions stay wider at 4:3
- No mandatory monthly fee with local microSD, NVR, or Home Hub recording

This card highlights the product details most relevant to this section.
- Dual-lens 180 degree panoramic view suited to wide driveway or front-yard coverage
- Strong fit when the job is scene coverage and sequence, not one tight ID crop
- Person, vehicle, and animal detection with 24/7 PoE recording support
- Useful as the wide companion view next to a tighter ID camera

This card highlights the product details most relevant to this section.
- Turret-style exterior camera that makes more sense near soffits and walls than many bullet bodies
- 2K PoE camera with a wide 102.4 degree horizontal view for tighter exterior ID work
- Cleaner fit for side gates, porches, and shallow overhangs in a UniFi Protect stack
- Better article fit than a generic bullet because the housing matches the placement advice

This card highlights the product details most relevant to this section.
- Strong low-light fit for side yards, aprons, and entries where color night detail matters
- F1.0 aperture and warm-light-assisted color night vision align with the article's lighting guidance
- PoE wiring keeps it appropriate for permanent exterior installs
- Better pick when night clarity matters more than ultra-wide coverage
How Much Should You Budget for Camera Placement?
Camera placement cost is driven more by cable path and mounting conditions than by camera count alone.
A clean PoE run to a reachable eave is usually straightforward. A finished soffit with limited attic access is more work. A detached gate or long driveway entry is where budgets jump because trenching, conduit, surge protection, weatherproof boxes, or wireless bridge links may enter the picture. That is why "just add one more camera" can be cheap in one area of the property and expensive in another.
| Placement scenario | Typical cost pressure | Why it changes the quote |
|---|---|---|
| Main-house eave or porch | Low to moderate | Shorter cable path, easier ladder access, less finish disruption |
| Finished soffit or difficult attic path | Moderate | More labor to fish cable cleanly and protect the finish |
| Detached garage or pool house | Moderate to high | Longer runs, extra switching, or outdoor pathway protection |
| Gate, pillar, or long driveway entrance | High | Often requires trenching, conduit, masonry work, surge protection, or a bridge link |
-
Budget for placement first, then camera upgrades.
-
Ask where cable path, conduit, lift access, or trenching changes the job.
-
Put your best ID views at the easiest high-value choke points before you overspend on broad low-value coverage.
Can One Camera Do Both Coverage and Identification?
No, not reliably. One camera can sometimes get close, but a wide scene and strong identification detail usually require different framing priorities.
If you widen the view enough to capture the whole driveway, yard, or approach path, you usually lose face and plate detail. If you tighten the lens enough to identify a person or driver, you usually lose surrounding context. The dependable solution is a pair: one camera for story, one camera for detail.
That does not mean doubling every camera blindly. It means doubling the views that matter most. A driveway, front door, side gate, and rear entry are usually where the paired approach delivers the biggest improvement.
Do You Need a Dedicated License Plate Camera?
Not always. For many homes, a lower, tighter camera aimed at the exact driveway apron or stopping point is enough to capture useful vehicle details.
Dedicated LPR hardware becomes more important when the scene is fast, dark, uncontrolled, or far from the house. If vehicles roll through quickly from the street, if the angle is steep, or if headlights dominate the frame, a standard wide exterior camera is the wrong tool. The more controlled the scene is, the more likely a well-placed tighter camera can do the job without going full LPR.
- Start with a tight view where vehicles pause, not at the street edge.
- Keep the angle shallow and the distance short.
- Treat headlights, wet pavement, and reflective plates as design constraints.
- Upgrade to purpose-built LPR only when the scene truly demands it.
Privacy and Neighbor Awareness
Aim cameras at your property, your entry points, and public approaches relevant to the scene. Avoid pointing through private interior windows and be thoughtful about neighbors' yards, pools, or patios.
Audio rules vary by location and use case. This article is practical design guidance, not legal advice, so confirm any audio recording questions locally before enabling microphones in sensitive areas.
FAQ
UniFi or Reolink for exterior cameras?
UniFi Protect is a strong fit when you want cohesive local recording, cleaner exports, and one consistent management stack. Reolink is still a good fit on tighter budgets or hybrid upgrades. The placement rules in this guide apply to both.
How many exterior cameras does a typical home need?
Many homes land in the four-to-eight-camera range once you cover the front door, driveway, side access, rear access, and at least one broader overview. Large lots, detached structures, and gates can push that higher.
Should exterior cameras record continuously?
Keep continuous recording on the most important identification views if retention allows it. Broader overview scenes can often move to detection-based recording once the alerts are tuned and the scene is stable.
Can I mount every camera high under the roofline for safety?
You can, but you will sacrifice identification quality on the views that matter most. High roofline mounting is usually best for context cameras, not for the primary front-door, gate, or apron ID view.
Placement Checklist
- Assign every camera a primary job: coverage or identification.
- Mount most exterior ID cameras around 7 to 9 feet high with a gentle downward angle.
- Place tight vehicle views where cars actually pause, not where they are still moving fast.
- Keep white soffits, reflective trim, insects, and spiderweb-prone corners out of the IR trouble zone.
- Use soft, warm lighting near entries and aprons instead of relying on bright floods.
- Start alerts with person, vehicle, and line-crossing logic before broad motion zones.
- Label cameras by location and purpose in the NVR for faster exports and support.
Next Steps
If you want a cleaner plan before buying hardware, we can map coverage, identification, cable paths, night-lighting trouble spots, and retention priorities during a local site visit. The goal is not more cameras. It is the right camera in the right place.
References
- Ubiquiti Help Center: UniFi Protect Cameras - AI Detections and Facial Recognition. Checked March 11, 2026.
- Ubiquiti Help Center: UniFi Protect - Optimizing Night Mode. Checked March 11, 2026.
- Reolink Blog: Security Camera Lens Selection Guide. Checked March 11, 2026.
- Axis White Paper: Pixel density based on IEC 62676-4:2014. Checked March 11, 2026.
- DarkSky International: Home Outdoor Lighting Assessment. Checked March 11, 2026.
Plan the project with a site visit
Confirm wiring, equipment, placement, and installation scope before hardware is locked in.