- Quick summary
- How Many UniFi Access Points Do Historic Homes Need?
- What Materials Block Wi-Fi Most in Plaster and Stone Homes?
- Which Survey Tools Are Enough for a Historic Home Site Survey?
- Why Is Ethernet Backhaul Mandatory in Plaster and Stone Homes?
- How Do You Run Ethernet in Historic Homes Without Damaging Finishes?
- How Much PoE Budget Do UniFi APs Need?
- Which Power and Channel Settings Work Best in Plaster and Stone Homes?
- How Do You Validate Placement Before Drilling?
- How Do You Mount Access Points on Plaster and Stone?
- Which UniFi Access Points Work Best for Plaster and Stone?
- What Should You Do When Metal Lath Turns Rooms Into Faraday Cages?
- What Performance Targets Should You Expect in a Historic Home?
- What Mistakes Cause Most Wi-Fi Problems in Historic Homes?
- How Should You Document and Maintain the Install?
- FAQs
Quick summary
Plaster, stone, brick, and metal lath change Wi-Fi design from a "one strong access point" problem into a room-by-room placement problem. The winning pattern is wired backhaul, shorter coverage cells, conservative channel plans, and mounts that protect historic finishes.
This guide covers AP count, material attenuation, Ethernet routing, PoE sizing, temporary validation, and the UniFi access points that make the most sense for difficult retrofits in 2026.
How Many UniFi Access Points Do Historic Homes Need?
Historic homes require at least one access point per floor, with additional units placed near high-use rooms, stair landings, and isolated wings.
Dense plaster, stone, and metal lath shorten useful coverage zones fast. Do not try to blast through the entire floor from one oversized AP.
- One AP per floor is the minimum starting point, not the final answer.
- Add APs near offices, media rooms, bedroom wings, and basement work areas.
- Treat thick chimneys, fireplaces, and stone party walls as coverage boundaries.
- Use wired backhaul for every AP so radios do not lose airtime to mesh hops.
As a practical rule, older homes need more smaller coverage cells and fewer hero placements. A clean corridor ceiling or top-of-stairs mount is usually worth more than buying a "long-range" model and hoping it punches through heavy construction.
What Materials Block Wi-Fi Most in Plaster and Stone Homes?
Plaster on metal lath, solid masonry, fireplaces, and dense built-ins are the materials most likely to break otherwise reasonable Wi-Fi plans.
| Material | Typical impact | What it means for placement |
|---|---|---|
| Plaster on wood lath | Moderate to high | Shorten cell sizes and expect meaningful room-to-room loss |
| Plaster on metal lath | High | Treat as a partial Faraday cage and stop planning on cross-wall coverage |
| Stone or brick wall | High | Place wired APs on both sides instead of trying to shoot through |
| Fireplaces and chimneys | High | Use them as boundaries when laying out coverage |
| Heavy cabinetry, mirrors, and built-ins | Moderate | Keep APs clear of reflective and absorbing obstructions |
When metal lath is present, the right answer is usually more APs with cleaner room access, not more transmit power. That is why corridor ceilings, stair landings, and In-Wall APs matter so much in historic retrofits.
Which Survey Tools Are Enough for a Historic Home Site Survey?
Enterprise software is not required for a site survey.
A basic Wi-Fi analyzer, a marked floor plan, and one consistent test device will get you most of the way there if you are disciplined about how you measure.
- Wi-Fi scanner such as WiFiman, Airport Utility, or NetSpot
- Printed or tablet floor plan with candidate AP locations marked
- One consistent test phone or laptop for near, mid, and far measurements
- Painter's tape or a light temporary mount to stage APs before drilling
The point of the survey is not to create pretty heat maps. It is to identify which walls kill signal, which corridors connect rooms, and which mounting points are worth wiring.
Why Is Ethernet Backhaul Mandatory in Plaster and Stone Homes?
A single wireless mesh hop through plaster on metal lath typically causes a 60% to 80% drop in throughput and adds significant latency. Ethernet backhaul is not optional; it is the core design requirement.
In real retrofits, mesh fails in two ways at once: the client device sees a weaker AP, and the AP itself has a weaker uplink to the next node. That is why "coverage" may look acceptable while video calls, large uploads, and roaming still feel bad.
Wireless daisy-chaining is a last-resort patch in historic homes. If metal lath or masonry is already attenuating the client signal, a mesh hop makes the same path do double duty and performance falls fast.
If you cannot wire the final AP location today, run conduit or at least a pull path now. When usable coax already reaches the right room, MoCA 2.5 can be a practical retrofit backhaul, but it still needs to be treated as a wiring path rather than a generic mesh fix.
How Do You Run Ethernet in Historic Homes Without Damaging Finishes?
Historic-home Ethernet runs work best when you use existing chases, closets, basements, attics, and corridor soffits before you touch decorative plaster or stone.
Use home runs, not improvised splices. Leave service loops, label both ends, and photograph the route before walls close or covers go back on. Where drilling stone is unavoidable, protect the cable with bushings, sleeves, or conduit instead of dragging bare jacket through raw masonry.
Typical good pathways:
-
basement to first-floor closet risers
-
stacked closets between floors
-
attic drops to top-floor hall ceilings
-
crown or soffit routes where concealed access already exists
We map chase options, ceiling locations, and low-visibility cable routes before the first hole is drilled so the Wi-Fi plan and the finish plan stay aligned.
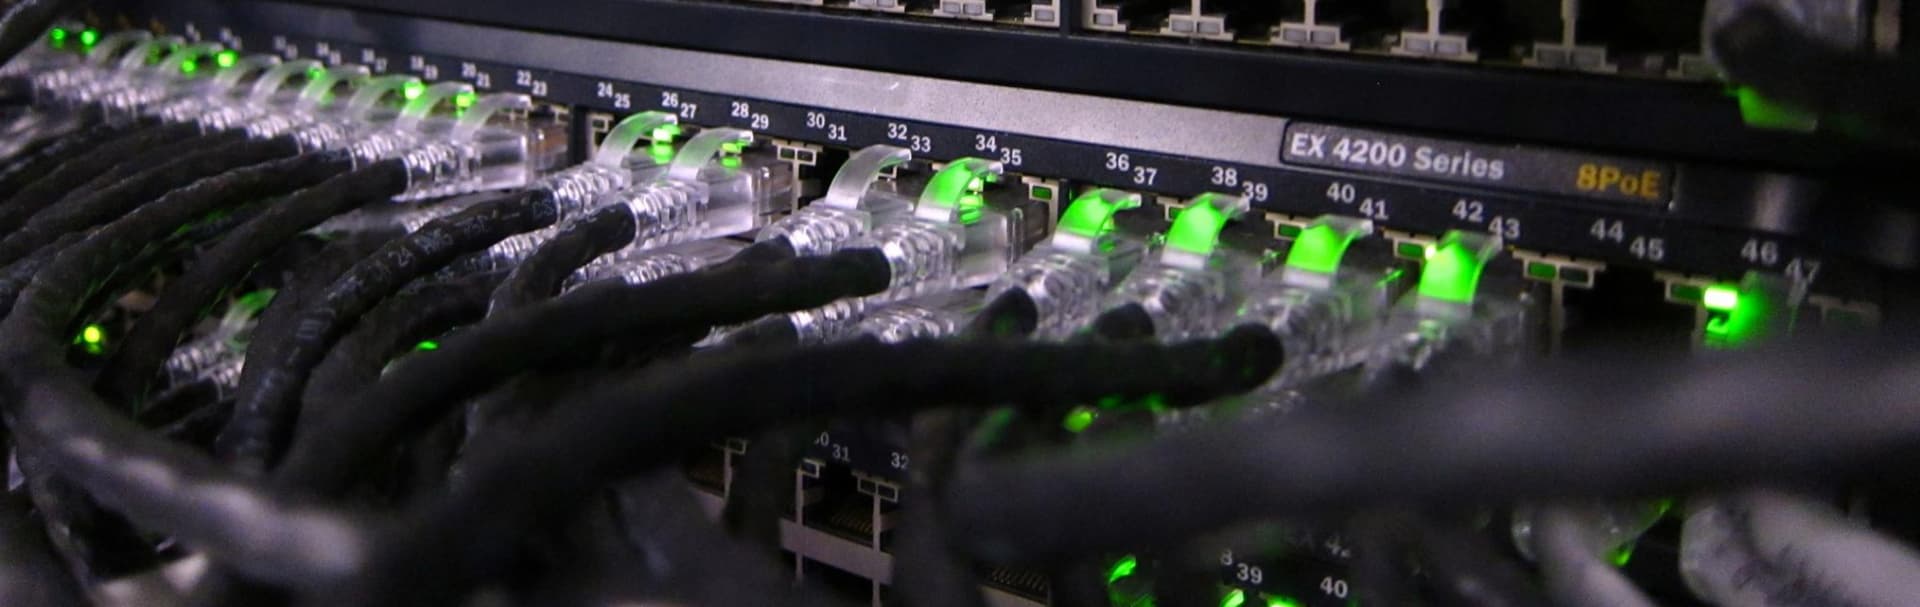
How Much PoE Budget Do UniFi APs Need?
Four or more access points in a historic home usually justify a PoE budget of at least 110 W once you include AP draw, startup margin, and growth headroom.
The current UniFi AP power picture is straightforward:
| Model | Uplink | Power | Planning fit |
|---|---|---|---|
| U7 Pro | 2.5 GbE | PoE+, 21 W max | Primary Wi-Fi 7 ceiling AP for new installs |
| U6+ | GbE | PoE, 9 W max | Compact retrofit AP for smaller rooms and lighter budgets |
| U6 In-Wall | GbE | PoE, 13 W max excluding PoE output | Room-by-room solution when metal lath kills cross-wall coverage |
Use switch sizing by job size, not brand loyalty:
4 or more APs: step up to a 123 W or 126 W class switch such as the GS108PP or TL-SG1008MP.2-3 lower-draw APs: a 62 W class fanless switch such as the LS108GP can be enough.Wi-Fi 7 growth path: if the house may gain more U7-class APs, cameras, or multi-gig switching later, buy more headroom now instead of replacing the switch in a year.
The common mistake is buying a quiet 50 to 60 W switch because the current AP count barely fits on paper. In older homes the network almost always grows after the first dead zone is solved.

This card highlights the product details most relevant to this section.
- 8 x 802.3af/at PoE+ ports with a 153W total power budget
- Better fit than fanless 60W-class switches once camera counts climb
- Strong value when the switch can live in a closet instead of a quiet room

This card highlights the product details most relevant to this section.
- 8 x 802.3af/at PoE+ ports with 62W total budget
- Fanless design with PoE Auto Recovery for APs and cameras
- Strong low-cost fit for quiet rooms and lighter endpoint counts
Which Power and Channel Settings Work Best in Plaster and Stone Homes?
Historic homes perform best with low-to-medium indoor transmit power, narrower channel plans, and enough AP density to let clients roam cleanly.
- Keep 2.4 GHz at 20 MHz for legacy and IoT stability.
- Default 5 GHz to 40 MHz unless the spectrum is unusually clean.
- Use 80 MHz or wider only where the test data supports it.
- Treat 6 GHz as a short-range capacity layer, not a magic penetration band.
- Use minimum RSSI and roaming features carefully after placement is stable.
The goal is predictable overlap, not maximum headline speed in one room. Sticky roaming gets worse when every AP is screaming at full power through a house full of reflective and absorptive materials.
How Do You Validate Placement Before Drilling?
Validate each candidate mount with temporary staging, closed-door testing, and small location adjustments before you commit to anchors in plaster or masonry.
- 1Temporarily stage each AP at the intended height using painter's tape, a clamp, or a tripod instead of drilling immediately.
- 2Run near, mid, and far tests in the busiest rooms with doors closed and normal furniture in place.
- 3Log RSSI, throughput, and call stability in problem spaces such as offices, stairwells, bedroom wings, and basement rooms.
- 4Move the AP a few feet at a time if fireplaces, mirrors, beams, or stone chases are shadowing coverage.
- 5Save a simple floor map with AP names, switch ports, channels, and final mount notes before permanent install.
How Do You Mount Access Points on Plaster and Stone?
Secure access points with anchors rated for hollow plaster or masonry, and avoid drilling directly into decorative molding, medallions, and visible historic trim.
Use the mounting hardware that matches the substrate:
- Hollow plaster: toggle bolts or Snaptoggle-style anchors when you cannot hit framing
- Solid masonry: carbide masonry bits with Tapcon-style anchors sized to the AP mount
- Temporary layout: painter's tape, a laser measure, and low-tack labels before any pilot hole
- Ceiling medallions or delicate trim: move to a side-wall or soffit placement instead of forcing a centered ceiling mount
Ceiling mounts in corridors provide the most even coverage. Use wall mounts or In-Wall units when ceilings are beamed, stone, decorated, or functionally off-limits.
Which UniFi Access Points Work Best for Plaster and Stone?
The UniFi U7 Pro is the best primary AP for wired historic-home installs, while U6+ and U6 In-Wall cover compact retrofit and room-by-room problem areas.
Use the lineup like this:
U7 Pro: best main recommendation for new installs that can support 2.5 GbE PoE+ and want the cleanest Wi-Fi 7 runway.U6+: best compact ceiling or high-wall retrofit option when you need a smaller, lower-draw AP and do not need 6 GHz.U6 In-Wall: best answer when metal lath or masonry forces room-specific coverage from an existing wall box or low-voltage bracket.U7 Pro Wall: strong wall-mounted Wi-Fi 7 option when you want a cleaner visible retrofit and the room can justify the added spend.
If you already own U6-LR hardware, keep it in open halls or larger central spaces. It is not the first model I would buy today for room-isolated plaster-and-lath layouts where cross-wall propagation is the real problem.

This card highlights the product details most relevant to this section.
- Wi-Fi 7 (802.11be) tri-band with 2.4, 5, and 6 GHz radios
- 2x2 MIMO on each band, with 6 GHz support for newer client devices
- Ceiling-mount form factor that works best with wired backhaul and central placement
- 1x 2.5 GbE uplink that works with modern PoE+ switching
This card highlights the product details most relevant to this section.
- Dual-band Wi-Fi 6 with 2x2 MIMO for dense rooms
- Compact, low-profile design ideal for discreet ceiling mounts
- Powered via 802.3af PoE with easy adoption into UniFi Network

This card highlights the product details most relevant to this section.
- Wall-mounted Wi-Fi 6 AP that solves room-by-room coverage gaps better than a corridor-only design
- Built-in 4-port switch makes it useful in offices, guest rooms, and isolated wings
- Strong fit when metal lath or masonry kills cross-wall propagation
What Should You Do When Metal Lath Turns Rooms Into Faraday Cages?
When metal lath blocks cross-wall signal, stop trying to power through it and place In-Wall or wall-mounted access points inside the isolated rooms.
This is the most important retrofit rule in the whole article. If a room behaves like a cage, corridor ceiling coverage may still leave it weak or inconsistent. At that point:
- put a wired AP inside the room
- reuse an existing low-voltage bracket where possible
- keep that AP's cell intentionally small
- let Ethernet, not mesh, carry the backhaul
This is where U6 In-Wall and newer wall-format UniFi APs make sense. They solve a material problem with placement, not with wishful transmit power.
What Performance Targets Should You Expect in a Historic Home?
Historic-home Wi-Fi targets should prioritize consistency, roaming, and call quality before you worry about peak speed screenshots.
- Busy rooms: stable uploads and low jitter during calls
- Far rooms: reliable coverage with doors closed
- Basement or lower level: its own wired AP if the space is used daily
- Outdoor edge zones: usable signal without overpowering indoor cells
If the house supports the family workflow everywhere they actually use devices, the design is working. A single heroic speed test next to the AP is not the design goal.
What Mistakes Cause Most Wi-Fi Problems in Historic Homes?
Most failures come from trying to force a modern open-plan Wi-Fi strategy onto a house that does not behave like modern drywall construction.
- One oversized AP trying to cover the whole floor
- Wireless mesh used where Ethernet backhaul was possible
- APs hidden behind beams, fireplaces, cabinets, or televisions
- Switches sized to the exact current load with no PoE growth margin
- No documentation of switch ports, cable routes, or final channel plan
The repeated pattern is the same: underestimating the building material and overestimating radio power.
How Should You Document and Maintain the Install?
Document exact AP locations, cable routes, switch ports, MAC addresses, and final radio settings so future service does not start from guesswork.
Keep:
- a simple floor map with AP names
- switch-port labels and photos
- cable-route photos before walls close
- before-and-after test notes
- annual review notes after furniture, artwork, or renovation changes
Historic homes change slowly, but they do change. A new built-in cabinet, a large mirror, or a stone accent wall can alter a previously stable room, so quick retesting should be part of routine maintenance.
FAQs
Can one UniFi access point cover an entire plaster floor?
Sometimes in a small open plan, but it is not the design assumption. Plaster, stone, and fireplaces shorten useful coverage fast, so one AP per floor is only the starting point.
Is mesh acceptable in a plaster-and-stone house?
Only as a fallback. In these homes, a mesh hop usually costs too much throughput and latency to be the preferred design.
Should I buy U6-LR or U6 In-Wall for metal-lath rooms?
For room isolation caused by metal lath, U6 In-Wall is usually the smarter answer because the problem is placement, not raw transmit power.
Do I need 2.5 GbE switching for U7 Pro?
U7 Pro still works on gigabit, but it performs best on 2.5 GbE PoE+ and that is the better choice for new installs whenever the budget allows.
Plan the project with a site visit
Confirm wiring, equipment, placement, and installation scope before hardware is locked in.