

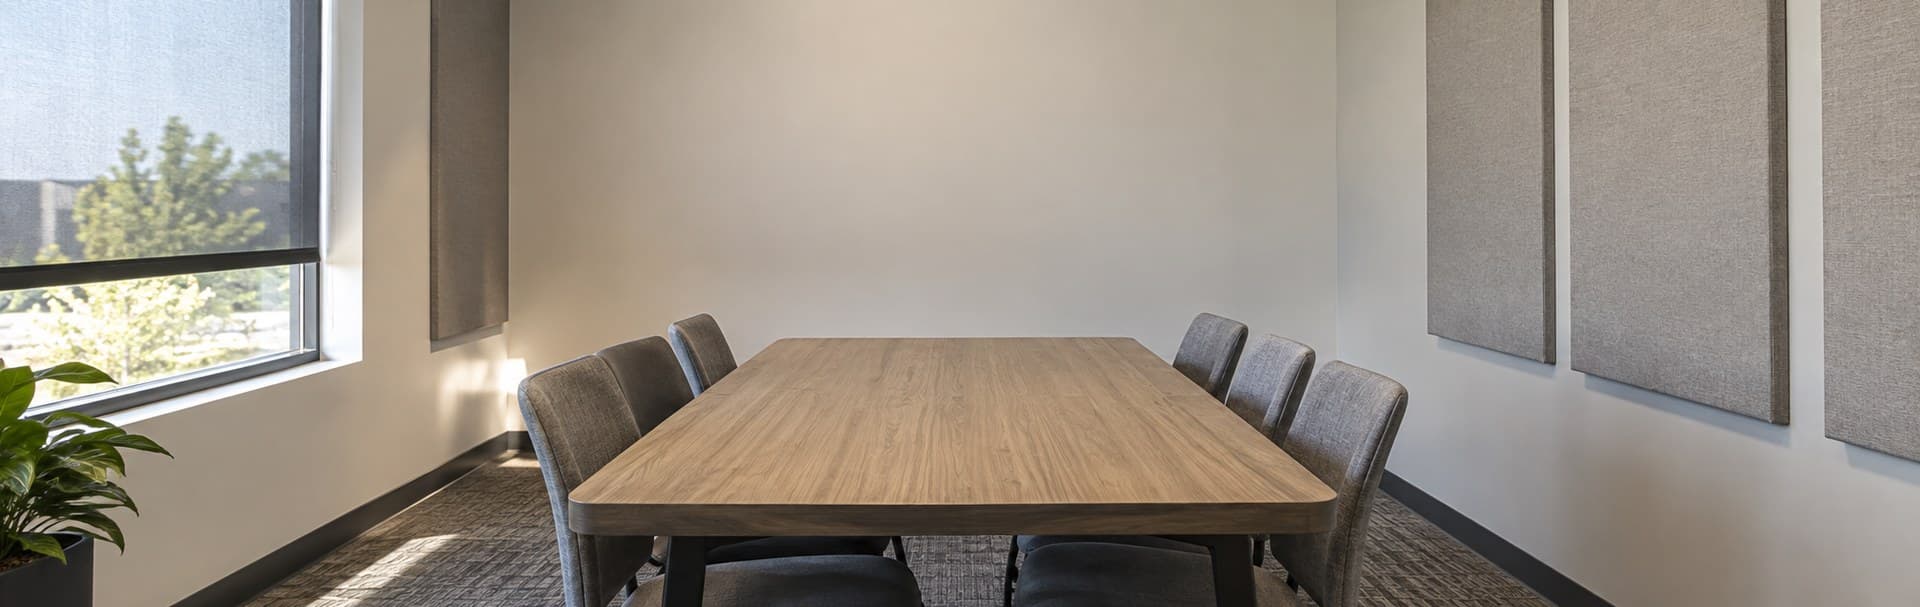
Quick answer
For a small conference room, draw the seats first. Put the camera near the front display at a natural seated sightline, choose microphone coverage for the farthest person rather than the nearest one, keep the display readable from every chair, and make joining and sharing content obvious. Run network, power, and table connections before furniture is fixed. Then test a real call from every seat with a remote participant listening.
A four-person room can look complete yet fail on its first busy Monday: the camera sees laptop lids, the far seat sounds distant, the display reflects a window, or the USB cable barely reaches the table. Good room design solves those everyday failures. This guide is a planning companion to our broader commercial AV guide.
Map the room around participants
Start with the actual table shape and the chairs you intend to use. Mark the front wall, windows, doors, whiteboard, and normal laptop positions. Photograph the seated view from each chair. A spec sheet's camera field of view or microphone pickup claim means little if the room's furniture blocks people or places the far seat outside the useful area.
For each seat, ask: Can the remote attendee see the face? Can they hear ordinary speech? Can the seated person read shared content? Can they reach a control or cable without crossing the room? Add one standing presenter position if people often use a whiteboard. This short walk-through is more informative than choosing equipment by room square footage alone.
| Element | Practical starting point | Verify on site |
|---|---|---|
| Camera | Centered on the display wall near seated eye line | All seats visible without laptop lids blocking faces |
| Microphone | Integrated bar or table mic within its supported pickup area | Farthest chair intelligible at normal speaking level |
| Speakers | Front of room, preferably aligned with remote participants | Voices audible without echo or feedback |
| Display | Visible from all seats without strong window glare | Shared spreadsheet and captions readable from the rear chair |
| Controls | One obvious join/share method at the table | Guest can start and end a call without staff help |
| Network and power | Protected, labeled pathways to display, compute and table | No exposed cable across circulation paths |
The Microsoft Teams Rooms planning guidance emphasizes camera framing, microphone coverage, and placement relative to participants. Use its guidance as a design check if Teams Rooms is the chosen platform, then confirm the selected hardware's certified pickup range and platform compatibility. A room used for Zoom, Webex, and guest laptops may require a different control approach.
Put audio ahead of camera resolution
Remote participants will tolerate a modest image more readily than speech they cannot understand. Test the far seat, the side seat, and the person who speaks softly. A video bar can be a clean solution in a compact room if its microphone range covers everyone. A long or reflective room may need an expansion mic, table mic, or acoustic changes. Do not add microphones just because the table has empty space; each one adds cabling, control, and possible echo problems.
Hard floors, glass walls, and bare ceilings can make a microphone sound worse even when the device is close enough. Curtains, soft furnishings, and acoustic treatment can help; the exact treatment depends on the room. Avoid placing a speaker directly behind an open microphone. Use the room system's echo cancellation and test with a remote listener rather than relying on how the room sounds to people sitting inside it.
Microsoft's hybrid meeting room design guide describes front-of-room camera and audio options, table and ceiling microphone approaches, and the need to keep equipment connections within reach. The lesson for a small office is straightforward: decide where every component physically lives before ordering devices.
Make the camera and lighting work together
Mount the camera where people naturally look while they speak to remote colleagues. A low camera under a large display can be acceptable if the angle still looks natural; a camera high above the display may show more table than faces. Test the actual furniture height before drilling. Keep the camera centered when possible, and check whether its wide-angle view distorts people at the table edges.
Windows behind participants can turn faces into silhouettes. If the room has strong daylight, consider shades and a camera position that keeps the brightest window out of the background. Ceiling lighting should illuminate faces evenly without harsh reflections on the display. A dark meeting room with a bright display is tiring even when the camera can compensate.
If the room uses a whiteboard, decide whether a camera must capture it. A normal front camera rarely makes small handwriting readable. A content camera or digital whiteboard may be justified, but only if whiteboard sharing is an actual workflow. A simple second camera can make the room harder to operate if no one knows how to switch views.
Decide how people join and share
Pick the room's primary mode before designing cables:
- Dedicated room system: the room joins meetings from its own calendar and controller. Good for frequent scheduled meetings with a managed platform.
- Bring your own laptop: a user connects the laptop to the camera, audio, display, and network. Good for mixed platforms, but the table connection and guest instructions must be reliable.
- Hybrid approach: a dedicated room system with a supported guest-content path. Useful when staff mostly use one platform but visitors need to present.
Write a one-sentence instruction that a guest could follow. If it takes a page of steps, the room likely has too many modes. Label the table input, leave an appropriate cable length, and provide a place for the laptop power supply. Secure cable pathways so chairs and cleaning crews cannot damage them. The underlying small-business network design also matters: a room system needs dependable wired connectivity, sensible segmentation, and a supportable handoff.
Two practical room patterns
For a compact four-seat room with a single display and frequent Teams calls, a certified video bar near the display, a dedicated room controller, and a wired network connection may be enough. The seating should remain inside the bar's tested camera and microphone coverage. Add shades if the display wall faces a bright window.
For a six-seat room used by multiple organizations, a BYOD connection may fit better. Place the camera and audio at the display wall, provide a simple USB and display path at the table, and test common laptop types. If the far seats sound weak, evaluate an appropriate expansion mic or a different room device before adding an arbitrary USB microphone.
Neither pattern guarantees a perfect room. Test the business workflow, including a remote meeting, local presentation, captions, volume control, and recovery after a power or internet interruption. The office internet resilience guide is relevant when customer meetings cannot pause during a network outage.
Use a remote participant for acceptance testing
Do not sign off after a local self-view. Place a call with someone outside the room, using the actual platform and account configuration. Have a person speak from every chair at normal volume, then share a spreadsheet, switch to a presentation, and use the whiteboard if that is part of the design. Move a laptop lid into the normal working position. Test the join button and content cable with someone who did not install the system.
Record what the remote participant could see and hear, any dead spots, and the final device settings. Document network ports, admin ownership, firmware update responsibility, warranty, and the support contact. A good room should remain easy to use after the person who specified it leaves the company.
Use the same short test script for each proposal or installation: start a scheduled call without installer help; have every seated person say the same sentence at a normal level; ask the remote listener to report any muffled or distant seat; share a spreadsheet with small text and confirm it is readable from the far chair; then end the call and start another as a guest would. Record a pass, fail or adjustment for each step. Repeat after moving a camera, microphone or table, because a good result at one chair does not prove coverage at the others. This gives the team a useful acceptance record rather than a vague claim that the room was “tested.”
For a room survey and installation scope, see our commercial technology services.
Send Data Wire Solutions a floor plan, photos, seat count, and the platforms your team uses. We can map the equipment, wiring, and acceptance tests before installation.
Frequently asked questions
Is a video bar enough for a six-person room?
It can be, depending on table shape, room acoustics, and the selected bar's rated coverage. Test the farthest seats with a remote listener before accepting the design.
Should the room use Wi-Fi or Ethernet?
For a fixed room system, a wired network connection is a strong default when a cable path is available. It makes one variable easier to control and document. Guest laptops can still use Wi-Fi where appropriate.
What matters more, a large display or better audio?
Both must meet the room's use, but unintelligible audio often ruins a meeting faster. Start by ensuring every seat is heard and shared content is readable, then size the display to the room.
References
- Microsoft: Meeting room guidance for Teams, reviewed September 29, 2026.
- Microsoft: Hybrid meeting room design, reviewed September 29, 2026.
Plan the project with a site visit
Confirm wiring, equipment, placement, and installation scope before hardware is locked in.