- Quick summary
- How bright should security lighting be for UniFi cameras?
- What should you audit before changing exterior lighting?
- Best UniFi Protect Settings for Exterior Lighting
- How to layer ambient lighting for security cameras
- Which UniFi camera models benefit most from better lighting?
- How do you fix license plate reflection at night?
- Where should you place fixtures around doors, gates, and driveways?
- How should you automate night lighting for UniFi cameras?
- Why does added ambient light improve color footage and smart detections?
- What should your before-and-after proof look like?
- The 5-Step Night Clarity Protocol
- What are the most common mistakes with UniFi night scenes?
- FAQ: How bright should the entry or driveway actually feel?
- FAQ: Do you need motion lights?
- FAQ: Should you leave IR on if you add exterior lighting?
- References
Quick summary
Built-in IR alone often washes out faces, plates, siding, and wet pavement. The fix is controlled exterior light, off-axis aiming, and Protect settings that match the new scene.
Use this guide to audit the scene, set practical lux targets, layer ambient lighting, tune UniFi Protect, and tighten the views that matter most at night.
- Start with the identification zone, not the whole yard.
- Aim for steady baseline light before adding motion-triggered boosts.
- Keep fixtures off the camera axis so plates and faces do not flare out.
- Treat G5 Pro, G5 Bullet, and G5 Turret Ultra differently because they do not react to added light the same way.
- Security camera installation services
How bright should security lighting be for UniFi cameras?
Aim for about 10 to 15 lux at the primary identification zone, then test from the camera view.
That is a practical field target for a driveway apron, front walk, gate latch, or door threshold where a person slows down and the camera needs usable color detail. It is bright enough to help many UniFi cameras stay out of gain-heavy IR footage, but still modest enough to avoid turning the property into a glare source.
Use lower levels for wider context zones and reserve higher levels for the exact spots where you need a face, package handoff, or paused vehicle. If the scene looks comfortable to the eye but the camera still smears motion, the fix is usually better fixture placement or tighter framing, not simply more lumens.
What should you audit before changing exterior lighting?
Capture screenshots at dusk, midnight, and pre-dawn so you can see exposure shifts before you buy fixtures.
Walk the property with a lux meter or a phone app and log the light level at the front door, driveway apron, gate, and any other detection zone. Note where IR bounces off white trim, garage doors, glossy siding, parked cars, or wet pavement.
Create a simple before log with:
- camera name
- time of capture
- light level in lux at the target zone
- whether the camera is in IR-heavy black-and-white or usable color
- the specific failure mode: blur, flare, blown plate, deep shadow, or hotspot
Those notes make the after-test meaningful and help prevent random fixture changes that never solve the actual problem.
Best UniFi Protect Settings for Exterior Lighting
Configure UniFi Protect by adjusting IR behavior, prioritizing motion handling, and testing HDR against the new lighting.
The exact menu wording can vary a bit by camera family and Protect version, so verify labels on the live camera before publishing screenshots. The core adjustments remain consistent:
- Night Vision / IR Mode: Set this to
AutoorOffwhen ambient light is stable enough to support color footage. Lower IR output if reflective surfaces are blooming back into the lens. - Low-Light Priority: When the camera has enough added light, bias toward
Frame Rateinstead of maximum image brightness. That usually reduces motion blur on walking people and slow-moving vehicles. - HDR: Test this per scene.
HDR Offoften looks sharper in evenly lit entries and aprons.HDR Oncan help where one side of the frame is bright and another falls into shadow. - Exposure discipline: Keep similar cameras in similar scenes on similar settings so your night footage remains predictable across doors, gates, and driveway views.
If a camera still needs aggressive IR after lighting upgrades, that is usually a placement or scene-design problem first. Do not assume the software can rescue a poorly aimed lane or a floodlight pointed straight back at the lens.
How to layer ambient lighting for security cameras
Install steady, indirect lighting around entries and driveways so the camera sees a balanced scene instead of one hot spot and a dark void.
The most reliable night footage usually comes from three layers working together:
- Baseline ambient light: porch fixtures, soffit lights, or shielded wall lights that stay on at a low level overnight.
- Path and edge lighting: low-voltage path lights, step lights, and gate-area fixtures that remove the darkest pockets from the frame.
- Event boost lighting: a brief increase at a door, driveway apron, or gate when a person or vehicle is detected.
That structure keeps the camera from constantly re-exposing every time motion starts. It also gives you cleaner color footage for clothing, vehicle paint, and package details than IR-only recording can provide.
Which smart lighting products fit this strategy?
Choose controls based on the job they solve in the scene.
If you need dependable switching for a low-voltage transformer or a plug-in flood circuit, the Lutron Caséta Outdoor Smart Plug is the cleanest recommendation here. If you already run Hue and want motion-based scene changes without changing camera platforms, the Hue Outdoor Motion Sensor is the more relevant add-on.
For a UniFi Protect deployment, the cleaner separation is simple: UniFi handles video, while Lutron or Hue handle lighting control and automation. Pick the actual fixture for beam spread, cutoff, and mounting position, not because a camera article happened to show it.
This card highlights the product details most relevant to this section.
- Wireless, battery-powered outdoor sensor for dusk-to-dawn and motion-triggered lighting scenes
- Weatherproof sensor for trigger-based ambient-to-boost routines around doors, walks, and driveways
- Works with Hue Bridge for app-based sensitivity and schedule tuning
This card highlights the product details most relevant to this section.
- Weatherproof hub-connected plug for landscape and security lighting
- Works with Caséta bridge, HomeKit, Alexa, and Google Assistant
- 15A capacity with built-in relay for low-voltage transformer control
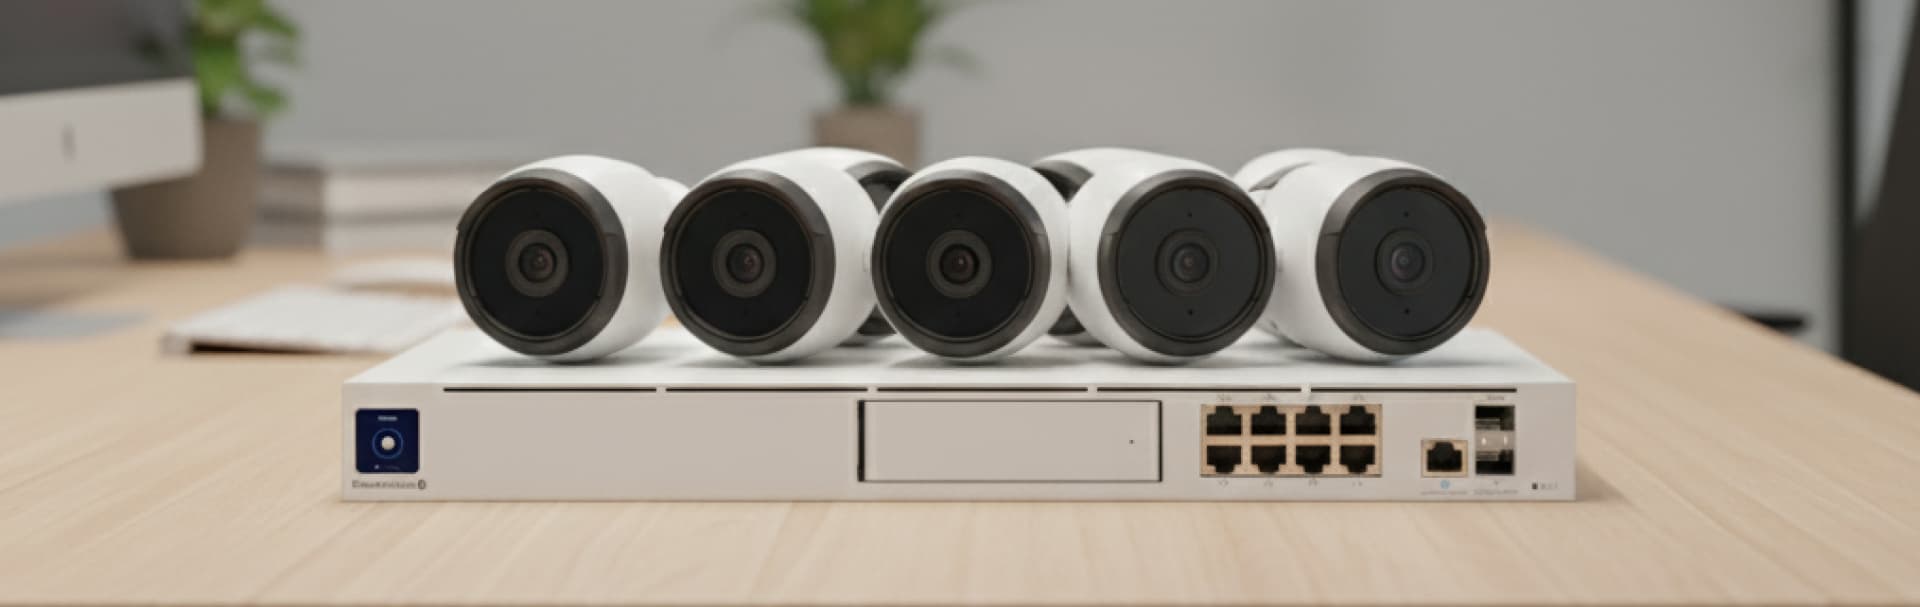
Which UniFi camera models benefit most from better lighting?
Different UniFi cameras respond differently to added light, lens choice, and reflective control.
Use the camera body and scene role to decide how much the image can improve with lighting alone:
| Camera | Best use at night | Why added light helps | Important limit |
|---|---|---|---|
G5 Pro | Tighter identification views | Official Ubiquiti specs still put it in the strongest position here: 4K, 3x optical zoom, and optional Vision Enhancer support for longer IR and flood assistance | Better than standard G5 models for ID work, but still not the same thing as a dedicated LPR camera |
G5 Bullet | General exterior coverage and narrower context views | Added light reduces IR dependence and helps stabilize faces near entries and side yards | It is still easy to ask too much of a wide bullet shot if you expect long-range facial detail or dependable plate capture |
G5 Turret Ultra | Covered entries, soffits, and wide aprons | Balanced layered light helps keep its wide field usable near the house and reduces self-inflicted glare from nearby walls or trim | The wide field can spread pixels too thin for identification if you try to cover the whole driveway and the plate zone with one camera |
For practical planning, use G5 Pro where a person or vehicle naturally slows down and identification matters. Use G5 Bullet and G5 Turret Ultra for context-first views, shorter working distances, or glare-prone positions where careful lighting can still produce very clean footage.
If the client says "I need readable plates every night," do not let the article imply that any ordinary wide G5 setup will do that job. That is where you call out a dedicated LPR scene and, when appropriate, dedicated LPR hardware.
For the broader placement strategy behind context views and identification views, see our UniFi camera placement guide.
How do you fix license plate reflection at night?
Keep the camera and the light off-axis so retroreflective plates do not return a white rectangle to the sensor.
License plates fail at night for predictable reasons:
- the camera is mounted too high and sees mostly a glare angle
- the light is too close to the camera axis
- the lane is too wide, too fast, or too uncontrolled
- headlights and wet pavement dominate the exposure
For most residential and small-office scenes, start with these corrections:
- place the light roughly
20 to 30 degreesoff the camera axis instead of directly above or beside the lens - light the vehicle approach zone from the side or from a lower offset position
- tighten the camera to the spot where the car pauses, turns, or reaches the gate instead of the whole driveway
- avoid pointing a bright flood straight at a garage door behind the vehicle
- test with an actual vehicle at night, not with daylight assumptions
If you need the plate from a moving lane or public-road approach, that is a separate LPR design problem and should be described that way.
Where should you place fixtures around doors, gates, and driveways?
Put the light near the subject, shield it, and keep it out of the lens.
For front doors and entries, a warm wall fixture plus a small step or soffit light usually works better than one bright flood mounted high above the doorbell. For driveways, two lower-output fixtures aimed across the apron usually expose faces and vehicles better than one beam blasting straight down the centerline.
Use these placement rules first:
- use full-cutoff or shielded fixtures to control spill and glare
- keep most residential scenes in the
2700K to 3000Krange unless contrast matters more than ambiance - move to
3500K to 4000Konly where security clarity is the priority and the scene can tolerate the harsher look - avoid
5000K+floods that flatten the scene and increase complaints - keep mixed color temperatures out of the same camera view whenever possible
Good fixture placement does more for the image than small settings changes inside Protect.
How should you automate night lighting for UniFi cameras?
Use automation to hold a stable baseline scene, not to make the camera chase constant brightness swings.
Set dusk-based schedules for the ambient layer and reserve motion-triggered boosts for the places where a person or car will actually enter the identification zone. Keep the boost duration long enough that the clip stays consistent from approach through departure.
If you tie automation to camera events, avoid rapid on/off cycling and avoid scenes that jump from near-dark to full flood every few seconds. Cameras record better when the environment is predictable.
Why does added ambient light improve color footage and smart detections?
Cleaner light lowers noise, improves usable color, and gives smart detections better frames to analyze.
That matters because an exterior security clip is more valuable when it shows clothing color, vehicle paint, package shape, and direction of travel instead of only a bright outline and a timestamp. Person and vehicle detections also tend to perform better when the camera is not fighting harsh IR bloom or deep shadow.
What should your before-and-after proof look like?
Document one repeatable test scene per camera so the improvement is obvious and defensible.
For each critical camera, save:
- one still at the original night setting
- one still after lighting changes
- one still after Protect settings are tuned
- the lux reading at the target zone
- the camera settings used for the final result
The best comparison scenes are the front door, a person standing in the driveway apron, and a parked vehicle in the plate zone. If you can add true side-by-side image evidence later, these are the shots to capture.
The 5-Step Night Clarity Protocol
Follow a repeatable sequence so each change improves the image instead of hiding the real cause.
- 1. Capture the baseline: Save dusk, midnight, and pre-dawn screenshots from each critical camera before touching the scene.
- 2. Measure the target zone: Record lux at the door, gate, or driveway apron so you know whether the problem is lack of light or bad placement.
- 3. Add layered light: Build the ambient layer first, then fill dark pockets, then add a motion boost only where the subject slows down.
- 4. Re-tune Protect: Lower IR dependence, test frame-rate priority, and compare HDR on and off from the live view.
- 5. Save the working recipe: Keep final screenshots, fixture model numbers, automation rules, and camera settings together for future maintenance.
What are the most common mistakes with UniFi night scenes?
Most bad night footage comes from scene design errors, not from owning the wrong camera.
Watch for these failures first:
- one floodlight doing all the work (if you are considering a camera with built-in floodlights, the Reolink floodlight camera comparison covers which model suits which scenario)
- lights mounted on the same axis as the camera
- wide overview framing where an ID view is required
- glossy trim, soffits, or garage doors bouncing light back into the lens
- motion-only lighting with no baseline ambient layer
- publishing vague claims about plate capture without a dedicated plate zone
FAQ: How bright should the entry or driveway actually feel?
It should feel controlled, not dramatic.
If the door threshold, gate latch, or driveway apron is readable and comfortable to stand in without squinting, you are usually closer to the right answer than if the whole property looks like a parking lot. Final judgment should still come from the camera view, not from how bright the scene feels to your eyes.
FAQ: Do you need motion lights?
Use motion for a short boost, not as the only source of night light.
Pure motion-only lighting forces repeated exposure swings and often gives you the worst frame right when someone first enters the scene. A low ambient layer plus a measured boost is the better pattern.
FAQ: Should you leave IR on if you add exterior lighting?
Often yes, but at a lower dependency level.
Auto still makes sense for many mixed scenes. The goal is to stop IR from dominating reflective surfaces, not to ban it outright in every install.
References
- Ubiquiti Help Center: UniFi Protect - Optimizing Night Mode. Checked March 15, 2026.
- Ubiquiti Help Center: AI-LPR Setup in UniFi Protect. Checked March 15, 2026.
- Ubiquiti Store: Camera G5 Pro. Checked March 15, 2026.
- Lutron Caséta: Outdoor Smart Plug. Checked March 15, 2026.
- Philips Hue: Outdoor Motion Sensor. Checked March 15, 2026.
Plan the project with a site visit
Confirm wiring, equipment, placement, and installation scope before hardware is locked in.